
Commercial Roof Flashing Failure Repair in Plano, TX
Home / Roof Damage Repair / Flashing Failure Repair
When base flashing pulls away from a parapet wall, the gap at the bottom is usually the symptom, not the cause. Water often gets in higher up, through a loose termination bar, cracked counterflashing, dried-out sealant or open coping joints, then runs down behind the flashing. Patching the bottom without checking above it is how a Plano building ends up with the same leak next spring. We inspect the full height of the detail and tell you exactly what the repair will rebuild. If the wall needs masonry or stucco work first, the estimate says so next to the roofing price.
Collin College's Plano Campus on East Spring Creek Parkway and the Plano Municipal Center on K Avenue help mark the area we work in, but they say nothing about any roof's flashing. At your building, wall and penetration flashing work depends on how that specific detail was built and what we find when we open it up.
Start above the leak
We start where the leak shows up and work upward. That means checking the termination bar, counterflashing, reglet, coping or the top of the curb, and how the flashing turns from the roof onto the wall. A split at the base is often one piece of a bigger failure. We note what we can see, flag what needs opening up, and tell you whether our scope fixes the whole path the water is taking or depends on another trade first.
Cracked masonry, failing stucco or a rooftop unit with a leaking cabinet can all feed water into a flashing detail. Those go to the mason, the stucco contractor or the HVAC tech, and our roofing follows once they're done. New flashing won't fix a wet wall behind it, and we'd rather tell you that before we open the detail than after.
What the flashing fastens to
Flashing is only as good as what it's attached to. Wet plywood, crumbling block or rotted wood nailers won't hold fasteners or adhesive. When the backing is hidden, we tell you what we'd need to open or probe to check it before choosing how to fasten and terminate the new flashing. Bad backing gets replaced first. A soft spot on one stretch of parapet doesn't mean the whole wall is bad, and a sound spot doesn't clear the rest of it either.
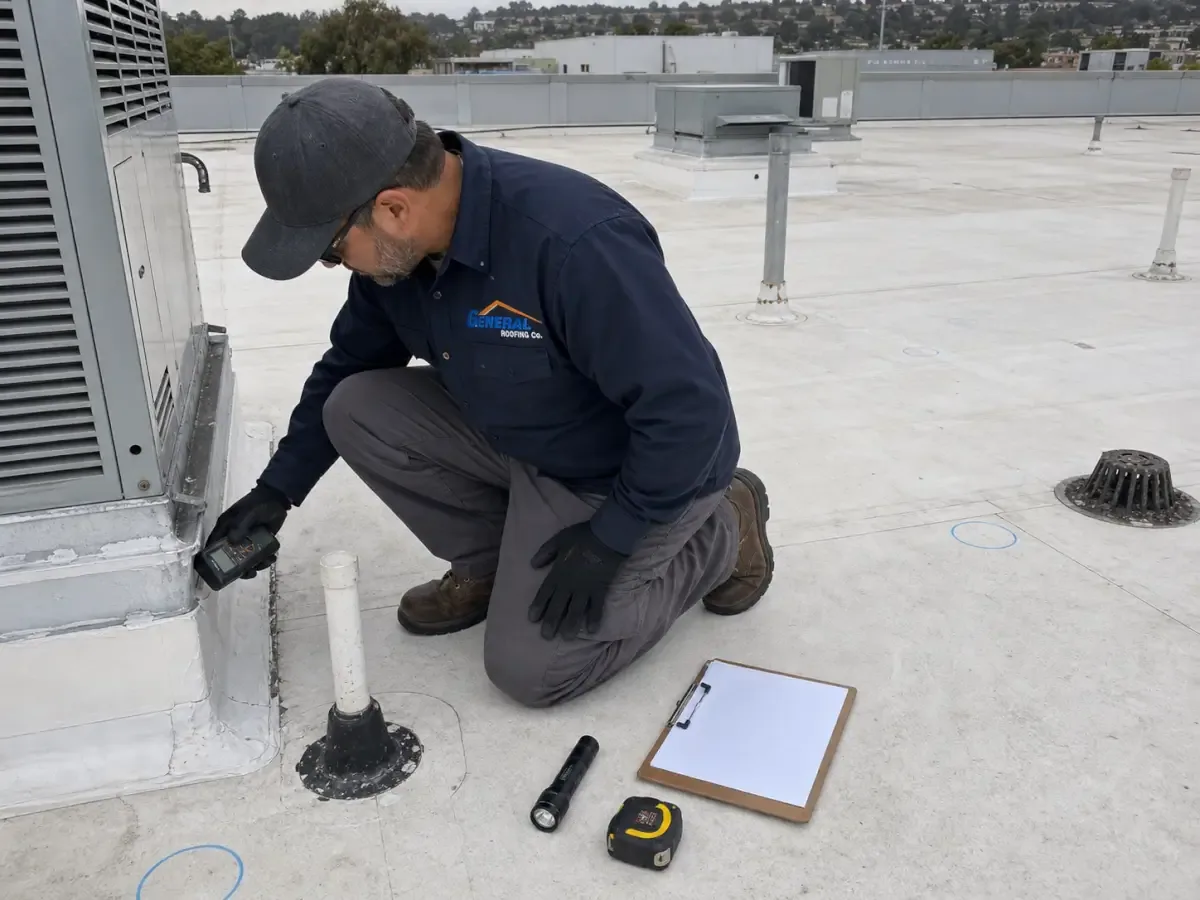
A commercial roof inspection of the failed detail documents what we can reach and what still needs checking. Our photos include enough of the surrounding wall and roof, or a roof-plan reference, that you can find the spot later. A close-up of the gap rarely shows where it meets the wall, so we take both kinds of shot, which also helps when you're lining up a mason or other trade.
Sometimes tear-off turns up rot or wet insulation that wasn't visible from the surface. When that happens, we stop, photograph it, and walk you through what it changes before anything gets closed up. Temporary protection stays in place while you decide. We won't cover bad backing just to stay inside the original patch outline.
Preparing the existing membrane
We confirm what's on the roof, whether TPO, PVC, EPDM, modified bitumen or built-up, before choosing a repair method, because each one needs its own primer, adhesive or welding process. Sound existing membrane at the edge of the repair gets cleaned and prepped to match. Membrane that's brittle, shrunk or delaminated at the edge comes out. The size of the visible gap doesn't set the size of the repair. The new flashing needs enough good membrane to tie into, and it has to work around the actual corners and height changes.
If seams near the flashing are open too, seam failure repair gets its own assessment. We decide whether those seams can be cleaned and rewelded or need to be stripped in or replaced, and we price that separately from any backing or wall work. That way you can follow each part of the repair instead of reading a line that just says "seal around leak."
Where water may have soaked the insulation, we take a core or test cut before setting the tear-off line and note where we took it and what it showed. A leaking flashing on one wall doesn't mean the insulation at the far end of the roof is wet, and we don't price it as if it were.
What a complete flashing repair includes
Our estimate spells out how the new flashing ties into the existing membrane and how it terminates at the wall or curb, including inside and outside corners, height changes and any nearby scuppers or drains that belong to the job. With commercial roof repair, the prep work and the finished flashing are one scope, so you know what you're getting at the wall instead of guessing from a field-patch quantity.
When the findings make it a real question, we compare rebuilding the flashing on one wall with a wider reflash. We tell you what membrane stays and why a smaller repair will hold, or what rules it out. Wall and masonry work stays priced separately, because a bigger roofing job doesn't automatically fix the wall.
Scheduling the repair
Before we schedule, we confirm the site contact, how we get onto the roof and where we can stage and hoist material. Buildings along the Spring Creek Parkway corridor are often busy multi-tenant offices, so roof access, working hours and parking are set by each property's management, not by the street address. We plan those details with whoever manages the building.
We only open a flashing detail when we can protect it and finish it. If the mason or HVAC contractor has to go first, we say so and schedule around them. A date on the calendar doesn't mean the wall is ready for flashing, so the estimate comes with the order of work, which makes it easier for you to line up tenants and trades.
We can install emergency temporary protection at night, on weekends and on holidays. That temporary fix is listed separately from the permanent flashing repair, along with whatever still needs inspection, so the permanent work is based on the right information.
Photos and the closeout record
We photograph the prepped backing and membrane tie-ins before the finished flashing covers them, then check the completed work with the test method that fits the membrane, such as probing welded seams. A roof condition report marks where the new flashing is, what was done and any items still waiting on another trade.
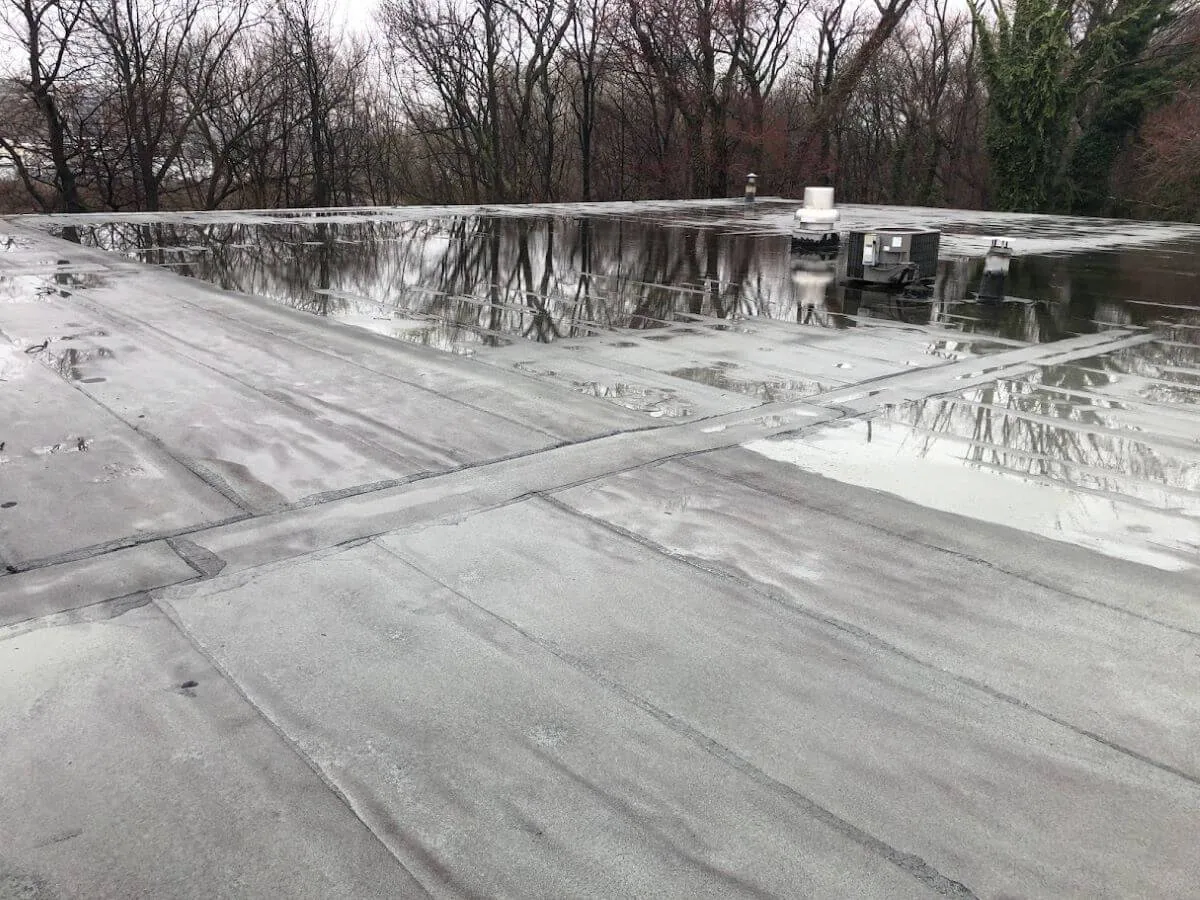
If the job also fixed ponding water at the base of the wall, the drainage notes go in the same report. A leak somewhere else later gets its own look. The report covers the repaired detail only; it doesn't vouch for every coping joint or hidden layer on the building, though it gives you a solid starting point for the next decision.
Commercial Roofing Questions
Why check above the gap in the flashing?
Water often enters higher up, through a loose termination bar, cracked counterflashing or open coping joints. If we only patch the bottom, the leak usually comes back. We inspect the full height of the detail before recommending a repair.
What needs to be checked before new flashing is fastened?
The wall or nailer behind it. Wet plywood, rotted wood or crumbling block won't hold fasteners, so we open or probe it where needed. Bad backing gets replaced before the new flashing goes on.
What if the seams next to the flashing have failed too?
We assess them on the same visit and decide whether they can be rewelded or need to be stripped in. That work is priced on its own line, separate from backing or wall repairs. You see the whole repair, not one vague line item.
Can the scope change once the flashing is opened?
Yes. Removing old flashing sometimes reveals rot or wet insulation that wasn't visible before. We photograph it, tell you what it changes and get your approval before closing it up, with temporary protection in place.
What documentation do we get after the repair?
Photos of the prepped backing and membrane tie-ins, plus a report marking where the new flashing is and what was done. Any work still waiting on another trade is listed. Leaks elsewhere on the roof need their own inspection.
Get the whole flashing detail inspected
Schedule a roof inspection in Plano for the leaking wall or penetration. We'll check the termination, backing and surrounding membrane, then price a permanent repair and note any wall work needed first.
Request a Roof Assessment in Plano
Tell us about the building, the roof and what you are seeing. Send a request or call 555-555-5555.